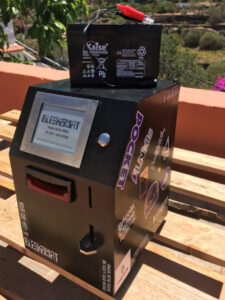
Connect Your Bleskomat ATM to BlueWallet via Bleskomat Platform
BlueWallet and LNDhub
BlueWallet is a mobile wallet app which is free and open-source. The on-chain part of BlueWallet is non-custodial and allows the user to hold their own private keys, but the Lightning Network implementation is custodial by default. The developers of the BlueWallet app run an instance of a server software named LNDhub to provide separate custodial Lightning accounts to their users. It is possible to run your own instance of the LNDhub software – see self-host your own LNDhub.
LNDhub is a free and open-source project which acts as a wrapper for the Lightning Network Daemon (LND). It allows a group of users to run different accounts with only one node in a trust-minimized setup. Ideal for hosted shared services or groups, families and friends that want to share their own node.
For more information please visit the LNDhub website and a live demo can be found here.
BlueWallet app install and setup
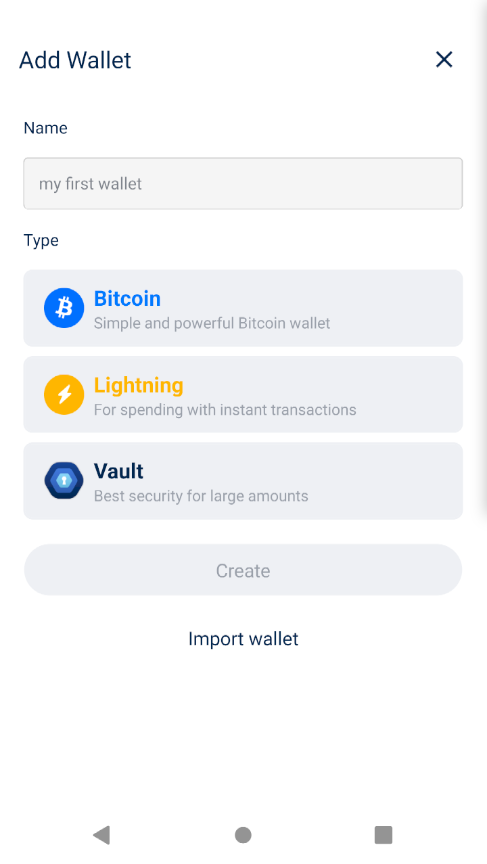
The first step is to install BlueWallet onto your iOS or Android device. Once you have the app downloaded, run it. If you don’t already have a Lightning wallet, click “Add now” then choose “Lightning”. On the next screen, you can choose to name your new wallet and you can see the LNDhub URL which you will use. By default the BlueWallet team’s LNDhub instance will be used (e.g. “lndhub.io”).
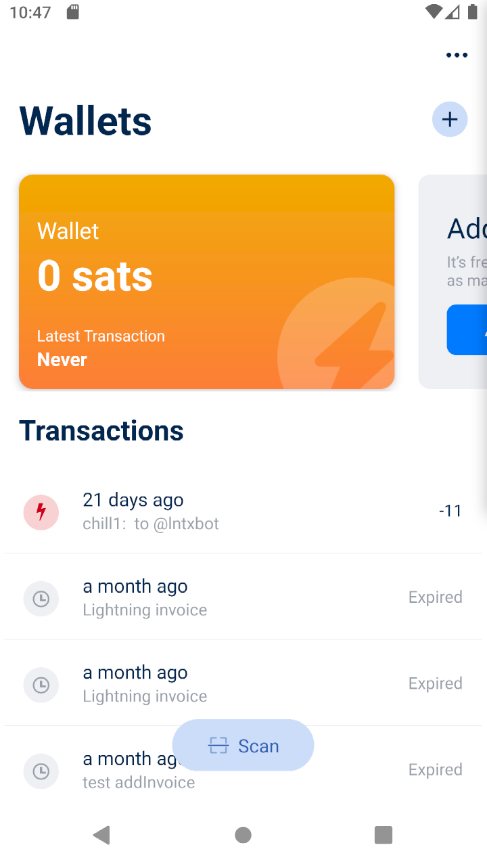
Once you’ve created a new Lightning wallet, keep the screen open because you will need the connection details and secret during the next steps in this guide.
Self-host your own LNDhub
This step is optional and is only necessary if you don’t want to use the publicly available instance provided by the BlueWallet team.
Installing LNDhub takes a bit of work. Detailed instructions can be found on their GitHub repository and this guide for a RaspberryPi might also be useful. Please note that your own lnd is required.
Once you’ve finished the setup of your own LNDhub, you can configure your BlueWallet app to connect to it. Click on the three dots in the top right corner of the app to open the settings. Then tap Network then Lightning Settings, which will take you to the screen where you will input your LNDhub URL. This could be a local network connection, a VPN or even a TOR hidden service. After entering this URL hit the blue Save button and you should now be connected to your LNDhub. You can now navigate back to the main screen and create a new Lightning wallet using your LNDhub backend.
Connect your Bleskomat Platform account to BlueWallet
Let’s now connect your Bleskomat Platform account to your BlueWallet account.
- Login to your Bleskomat Platform account
- For first time login:
- Find and click the “Redeem Link” in the email that you received after placing your order.
- Select “Create a new account” from the list of options in the “Action” field.
- Click the “Confirm” button.
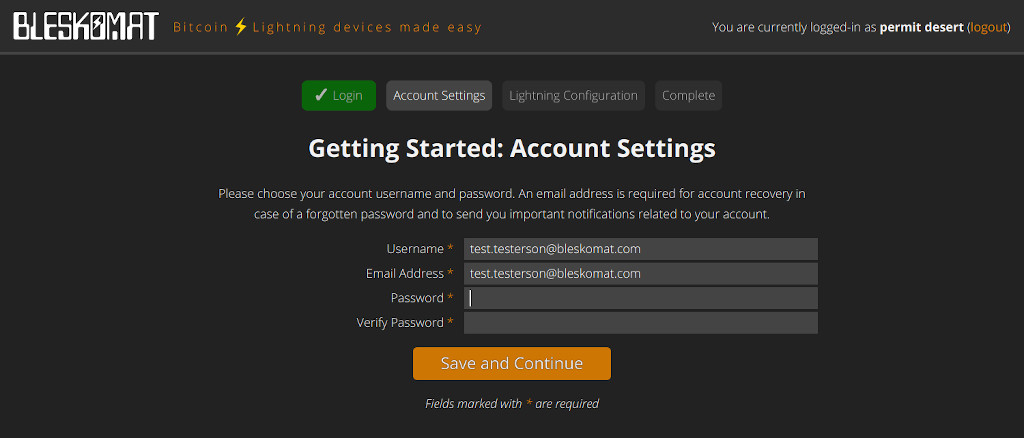
- Complete the Account Settings step to set an email, username, and password.
- For first time login:
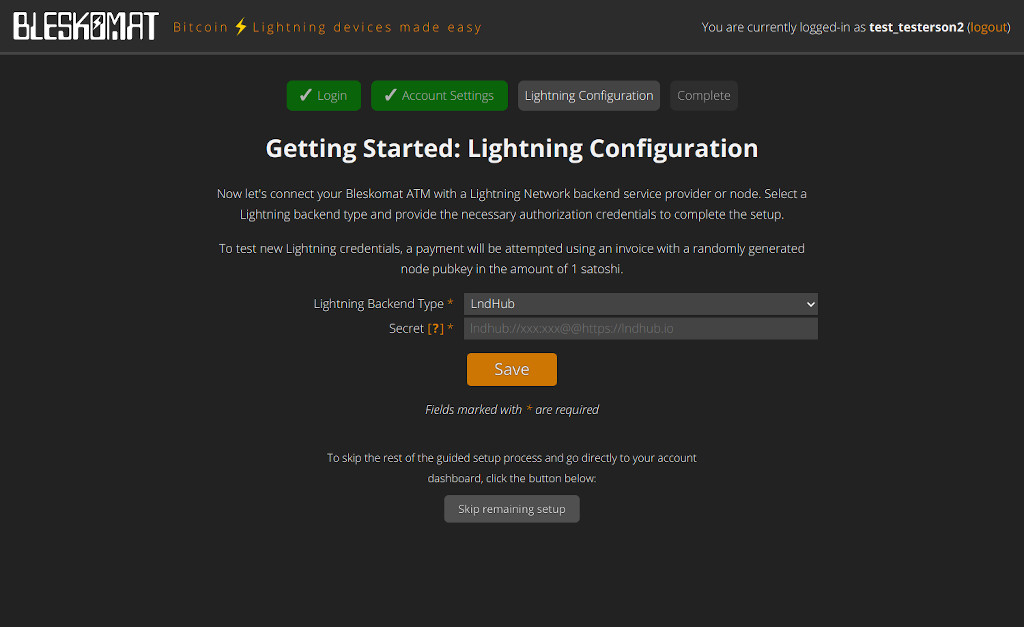
- Lightning Configuration
- Select “LndHub” from the list of options for “Lightning Backend Type”
- Copy the connection details and secret which you obtained earlier from the “BlueWallet app install and setup”
- Paste the connection details and secret into the “Secret” field
- Save and complete the initial account setup
- Management Interface
- Click “Devices” on the left side of the account screen
- If you don’t find any devices yet, click the “Create new device” button.
- Click the gear icon on the right side of one of the listed devices
- This will open the device’s settings page
- Note the various settings available:
- Enabled – Whether or not the Bleskomat Platform will process payments on behalf of the ATM
- Device Type – Various types of devices supported by the Bleskomat Platform:
- ATM – The full-sized product version of the Bleskomat ATM
- Do-it-yourself ATM – The DIY hardware project
- Point-of-sale – The POS terminal device
- Fiat Currency – The currency (bills and coins) which your ATM accepts. Changing this requires re-programming the bill and coin acceptors.
- Buy Limit – The maximum per trade limit for the ATM
- Exchange Rate Provider – The exchange rate API to use when fetching BTC to fiat exchange rate
- Fee Percent (%) – The percent amount deducted from the final BTC amount when sending Lightning payments –
- Fixed Fee – A fixed fee denominated in the fiat currency of the device
- Custom Invoice Memo Prefix – If set, this will replace the default invoice memo prefix – e.g. Bleskomat (absurd cake). Your ATM customers will see this in the memo field of their wallet application’s invoice.
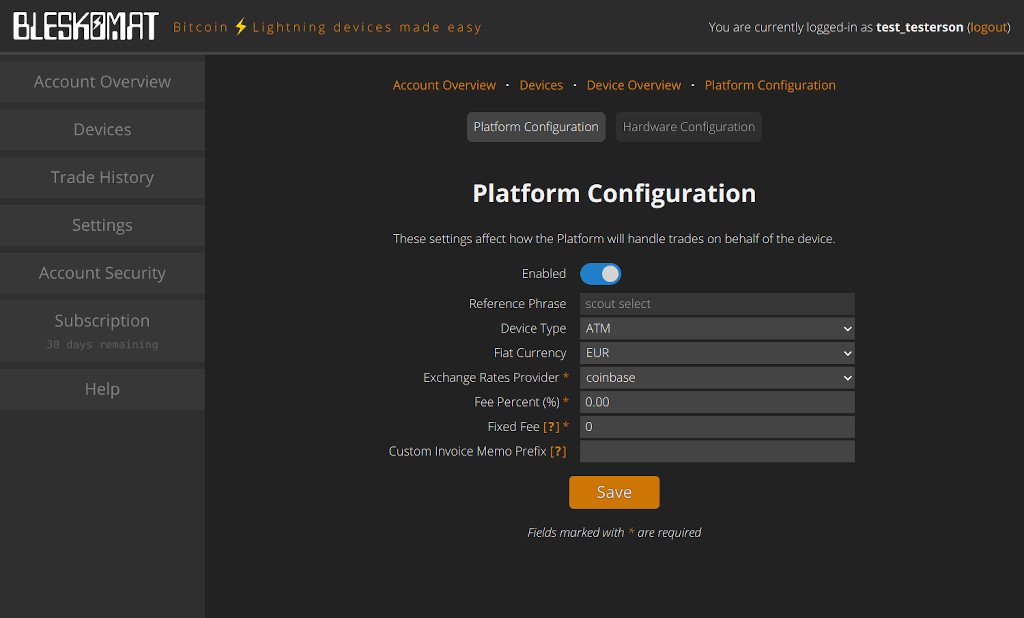
- Press the “Save” button to save the settings, in the case that you’ve made any changes.
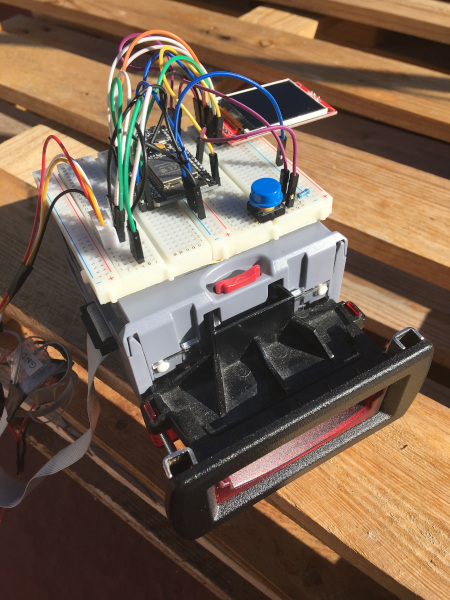
Configure Your Bleskomat ATM
In order for your Bleskomat ATM to create QR codes that the Bleskomat Platform will accept, you must configure it using the Hardware Configuration tool in your Platform account. This requires a USB cable and a web browser with Web Serial support – e.g. Chrome, Chromium, Brave, and Edge.
- Connect your Bleskomat ATM to your computer via USB cable
- Open the “Hardware Configuration” page in your Bleskomat Platform account
- Click the “Connect” button
The tool should automatically connect to your Bleskomat ATM. Then it will check if the device has the latest firmware installed. If not, it will ask you if you would like to update it. After firmware is updated, a few automatic checks are performed before the hardware configuration options are presented.
Once the Hardware Configuration tool is finished, you can move on to the next step.
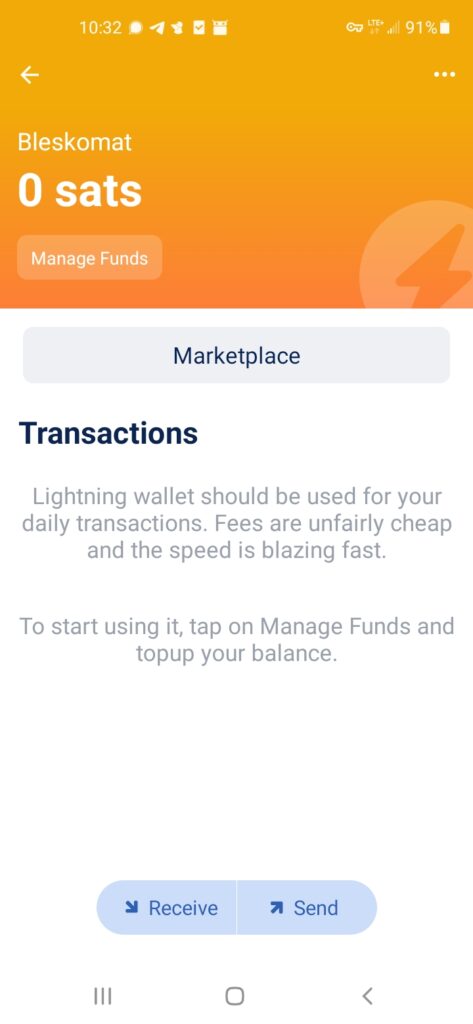
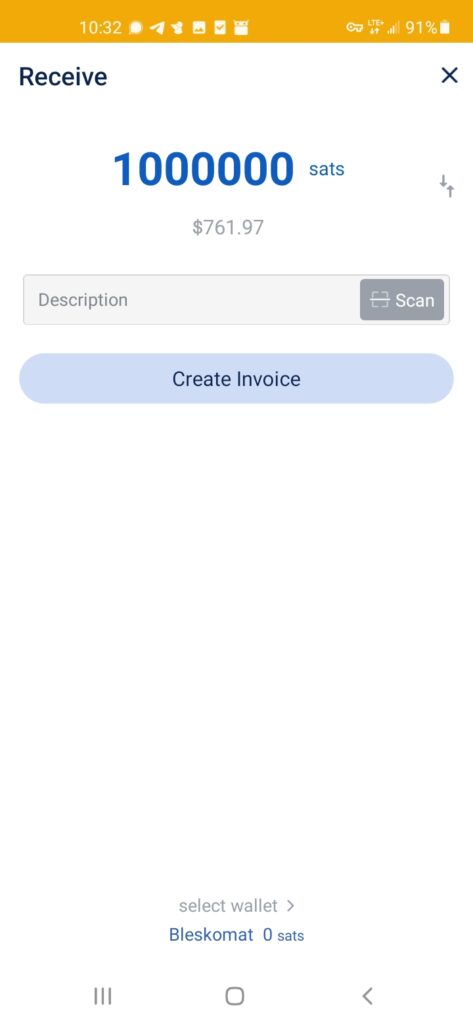
Fund your wallet
The final step is to fund your wallet. In your BlueWallet app, open the wallet which you created in a previous step. Click the “Receive” button in that wallet, enter the amount of sats you would like to fund your wallet, and then tap “Create Invoice”. You can now copy the invoice information and send sats via any Lightning wallet.
Once the Lightning invoice has been paid, you can try a test payment using your Bleskomat ATM.
Test the setup
Now let’s test the whole setup to make sure it’s working as expected.
- Insert a coin or bill into the Bleskomat ATM
- Push the button
- Open a compatible mobile wallet app
- Please see apps for a list of wallet apps which are compatible
- Scan the QR code with the mobile wallet app
- Follow the instructions in the mobile wallet app to complete the Lightning payment
You should see a new outgoing transaction appear in your BlueWallet wallet. Congratulations, your Bleskomat ATM is now connected and ready to sell sats!